Think about the last time you walked down the card aisle at a supermarket. You probably stood there for fifteen minutes, flipping through dozens of cards, trying to find one that didn't feel overly sentimental, cheesy, or completely unrelated to the person you were buying it for. On top of that, greeting cards can easily cost five or six dollars each nowadays!
There is a better, more personal way. By using simple AI prompts, you can create a custom-designed greeting card that perfectly captures the personality, hobbies, or inside jokes of your loved ones. Whether it's a birthday card featuring a "cartoon cat playing electric guitar" or a cozy winter holiday card, here's how to design cards that stand out on any mantlepiece.
Step 1: Focus on the Cover Illustration
When designing a card cover, you want a clean, visually appealing style that feels artistic. To keep the design balanced, ask the AI for a "clean background" or "central composition" so the main image is beautifully centered. Here are a few style ideas to try:
✉️ Birthday Card:
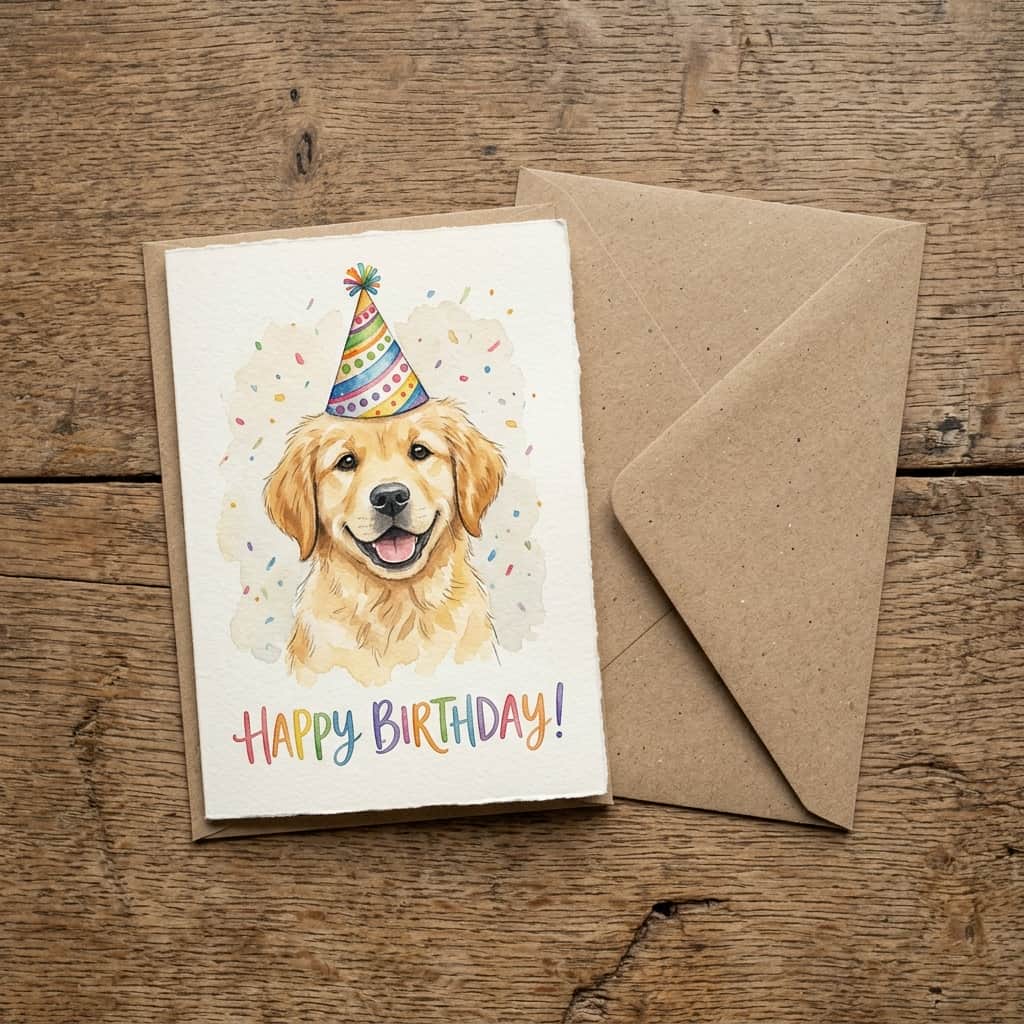
"A cute illustration of a happy golden retriever puppy wearing a tiny colorful birthday hat surrounded by balloons, pastel watercolor style, clean white background."

✉️ Cozy Holiday / Christmas Card:
"A warm cozy winter cabin surrounded by snow-covered pine trees under a starry night sky, papercraft vector style, layered paper look, clean composition."

✉️ Mother's / Father's Day Florals:
"A beautiful bouquet of hand-drawn wildflowers, detailed pen ink and soft gouache style, centered on textured cream background."
Step 2: Choose Your Format (Folded vs. Flat Card)
Once you generate your cover image and save it, decide how you want to present the card:
- The Flat Card (Easiest): Simply print your image on a piece of thick cardstock paper (size 5x7 inches) and write your personalized message on the back. It looks incredibly modern and fits perfectly inside a standard envelope.
- The Folded Card (Classic): Open a free editor like Canva, upload your AI image, place it on the right side of a horizontal template, print it, and fold it in half. You now have a traditional folding card with your design on the front!
Step 3: Printing Secrets for a Premium Feel
To make your custom card feel just as good as—if not better than—a store-bought card, the printing paper is key.
Do not print greeting cards on standard thin computer paper. Instead, head to an office supply store or order a pack of **"matte cardstock"** or **"heavyweight watercolor paper"** online. Feeding this thicker paper into your home inkjet printer will give your cards a gorgeous, matte, professional texture that feels premium to hold.
Next time a birthday or holiday comes around, skip the card aisle. Open up your browser, write a custom prompt, and create a keepsake card your friends and family will want to save forever!