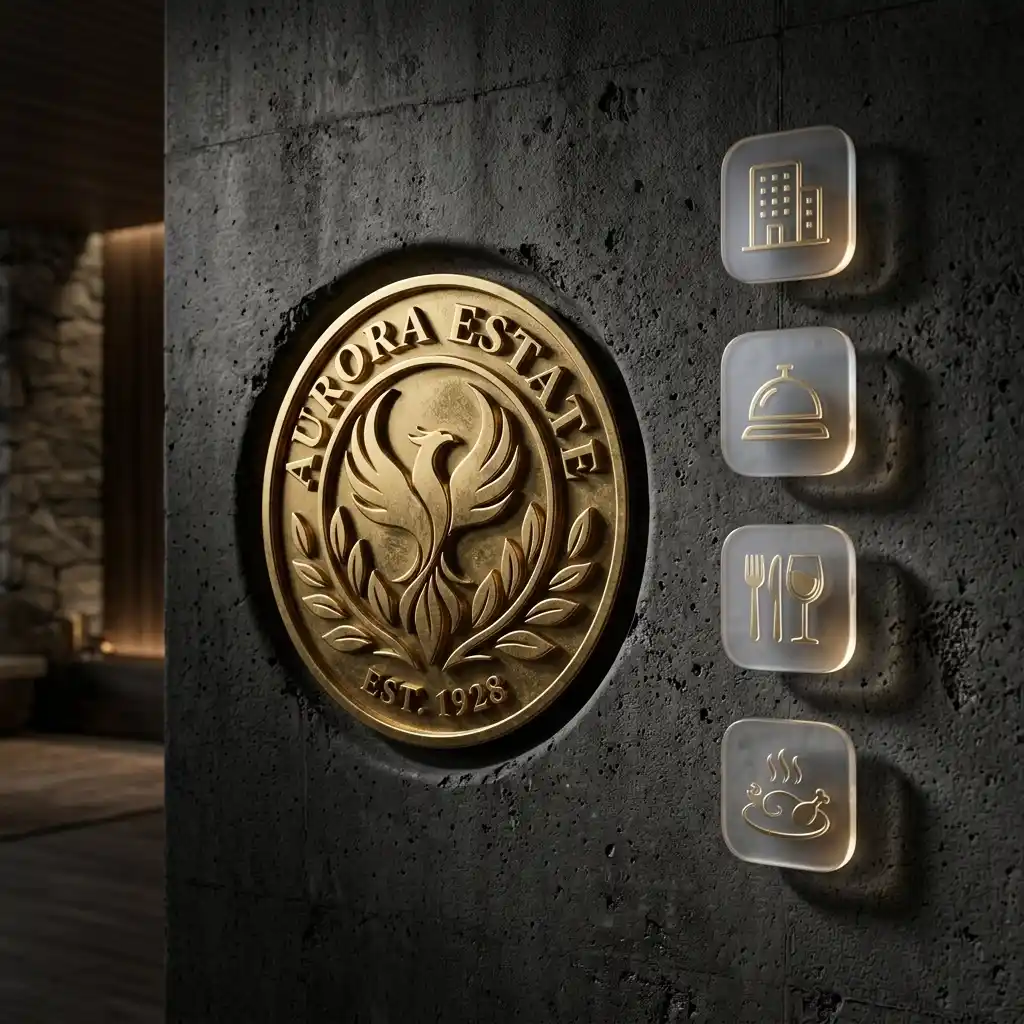
In graphic design, a great logo is only half the battle. The way you present your work to a client can make or break the project. A flat, black-and-white vector shape on a plain grey screen rarely excites a client. It requires them to use their imagination to visualize the brand's potential. But show them that same logo embossed in gold foil on a luxurious, textured concrete wall, or printed on clean cardstock, and the design immediately sells itself. It shifts the conversation from abstract shapes to a premium, tangible identity.
Historically, creating high-quality brand mockups required downloading heavy PSD templates that look generic, or spending hours setting up cameras, lights, and materials inside 3D modeling programs like Blender or Cinema 4D. Today, Midjourney v6 can generate photorealistic, studio-lit mockups and glowing glassmorphic icons in seconds. These AI-generated scenes make perfect backdrops for client presentations and portfolio showcases. In this guide, we show you how to write descriptive prompts for premium 3D logo mockups and beautiful glassmorphic branding icons.
1. The Psychological Value of 3D Brand Mockups
Branding is about perception. When clients see a logo presented on a raw physical surface—like a corporate glass sign, a wooden menu, or a metallic laptop emblem—they unconsciously attribute values of durability, texture, and luxury to the brand. Mockups provide realistic context. They show how a logo interacts with light, reflections, shadows, and physical materials.
Using Midjourney for mockups is incredibly efficient for design agencies because it lets you generate custom mockups tailored to the client's industry. If you are designing for a rugged construction company, you can generate wood and steel mockups. If you are pitching a luxury cosmetic brand, you can generate marble and gold-foil mockups. This hyper-customization is impossible with standard stock templates.
2. Prompting Wall Signage & Textured 3D Logos
When prompting Midjourney for 3D logo mockups, your text needs to describe two distinct things: the logo material and the backdrop surface. Adding words like "debossed," "embossed," "engraved," or "carved" dictates how the 3D depth will be rendered. Additionally, you must control the camera angle and lighting directions to give the shot a high-end studio feel.
Here are three copy-paste templates designed for premium physical mockups:
A. Premium Debossed Gold Foil Mockup
Gold foil on a dark, textured concrete background creates an instant feeling of high-end quality:
A premium 3D logo mockup of a metallic gold geometric shield emblem debossed in a dark, textured charcoal concrete wall. Moody dramatic side lighting, shallow depth of field, high-end design studio presentation, hyper-realistic textures, clean details --ar 16:9 --style raw --v 6.0
B. Futuristic Chrome Emblem on Glossy Black Acrylic Sheet
Perfect for gaming, cyberpunk, or hardware tech brands that need a high-tech finish:
A 3D branding mockup of a liquid metal chrome emblem embedded on a sleek, glossy black acrylic sheet. Reflections of soft purple and orange neon lights, clean reflections, studio photography close-up, high resolution, octanerender look --ar 16:9 --v 6.0
C. Minimalist White Debossed Logo on Matte Cardstock
Excellent for eco-friendly, fashion, or editorial brands that value organic simplicity and paper textures:
A close-up 3D logo mockup of a minimalist circular geometric emblem debossed in a heavy textured matte cream cardstock paper. Soft warm natural window lighting, clean shadows, elegant clean presentation, high-fidelity paper texture, macro lens --ar 16:9 --style raw --v 6.0
3. Designing Modern Glassmorphic App Icons
Glassmorphism (the look of frosted glass layered over colorful backgrounds) remains one of the hottest trends in web, mobile, and brand design. Midjourney v6 can generate gorgeous glass layers with realistic refraction, translucent borders, and glowing ambient drop shadows.
To write successful glassmorphism prompts, you need to describe the layered construction of the graphic. You must ask for a frosted glass texture, semitransparent refractive edges, and place it over a vibrant colorful abstract gradient background so the transparent glass has something colorful to refract behind it.
Try these three variations to generate glassmorphic icons:
A. Floating Glassmorphic Mail Bubble Icon
A futuristic glassmorphic 3D app icon of a messaging bubble, floating over a vibrant, colorful abstract background (neon teal to purple gradient). Highly detailed frosted glass texture, semitransparent refractive edges, subtle glowing shadows, studio lighting, isolated feel --ar 16:9 --v 6.0
B. Glassmorphic Cybersecurity Shield Icon
A 3D app icon of a protective security shield made of frosted glass layers. Floating over a dark background with a warm orange and magenta neon gradient glow. Refraction, semi-transparency, glassy edges, modern UI asset style, Behance --ar 16:9 --style raw --v 6.0
C. Glassmorphic Calendar Planner Icon
A floating 3D glassmorphic icon of a calendar grid layout, soft frosted glass sheet with rounded corners, overlaying glowing pastel peach and mint green gradient elements. Clean shadows, modern web graphic, premium vector feel --ar 16:9 --v 6.0
4. Mockup Styles & Material Keywords Reference Table
Use these precise material and styling combinations in your Midjourney prompt structures:
| Mockup Style | Core Material Keywords | Best Lighting Options | Best Ratio |
|---|---|---|---|
| Luxury Embossed | Embossed rose gold, debossed foil, textured handmade paper, matte cardboard. | Soft natural window light, morning sun shadows | `--ar 16:9` |
| Industrial/Tech | Brushed steel, sandblasted titanium, dark carbon fiber backing, matte black metal. | Cool dramatic side lighting, sharp spotlights | `--ar 16:9` |
| Modern Web 3D | Frosted glassmorphism, transparent acrylic, glossy clay textures, soft plastic. | Neon backdrop glow, colorful studio ring light | `--ar 1:1` or `16:9` |
| Corporate Retail | Acrylic wall sign, laser-cut wooden sign, frosted glass panels, architectural shopfront. | Bright diffused daylight, clean white studio lighting | `--ar 16:9` |
5. How to Blend Your Logo into AI Mockups: A Step-by-Step Workflow
Since Midjourney generates the mockups with its own abstract shapes or placeholder lines, you need to replace that center shape with your client's actual logo. Here is a simple Adobe Photoshop and Figma workflow to accomplish this seamlessly:
Step 1: Choose a Symmetrical Mockup
When prompting Midjourney, try to get a mockup where the central graphic is flat and facing the camera directly (avoiding high diagonal perspective angles). A straight-on or flat lay shot is much easier to warp than a sign shot at a steep 45-degree angle.
Step 2: Clean the Placeholder in Photoshop
- Open the upscaled Midjourney mockup in Photoshop.
- Select the Lasso tool or Marquee tool and draw a tight selection around the AI-generated placeholder logo in the center.
- Press
Shift + F5(or go to Edit > Content-Aware Fill). Photoshop will analyze the surrounding wood or concrete texture and blend the placeholder away, leaving a clean, blank textured wall.
Step 3: Overlay the Vector Logo & Match Perspective
- Copy your client's 2D vector logo (SVG or EPS) from Illustrator and paste it into the Photoshop document as a Smart Object.
- Scale the logo to fit the center. If the wall is slightly angled, press
Ctrl + T(Command + T on Mac), right-click the bounding box, and select Perspective or Distort. Adjust the corners to match the angle of the wall.
Step 4: Apply Blending Modes and Layer Styles
To make the logo look like it is physically part of the wall rather than floating on top of it, you must apply blending modes:
- For Dark Logos on Light Surfaces: Set the layer blending mode to Multiply. This allows the subtle grains of the concrete or wood to show through the logo. Reduce the opacity slightly (around 95%) to soften the look.
- For Light / Metallic Logos on Dark Surfaces: Set the blending mode to Screen or Overlay. This preserves the brightness while blending the darker micro-shadows.
- Add Real Depth: Double-click the logo layer to open Layer Styles. Add a tiny Bevel & Emboss effect:
- Style: Inner Bevel
- Depth: 50%
- Size: 2px or 3px (keep it tiny!)
- Direction: Down (to simulate debossing) or Up (to simulate embossing).
- Shading Angle: Match the direction of the light in the Midjourney image (e.g., if the light comes from the left, set the angle to 135 degrees).
Save the file, and you now have a premium, custom mockup showcasing the client's actual logo on an AI-rendered physical texture.
Conclusion
Prompting 3D mockups and glassmorphic icons in Midjourney v6 is a game-changer for branding presentation quality. It lets you test color rules, display physical material options, and deliver polished, immersive client previews in a fraction of the time. Save these prompting patterns, apply them to your creative pipeline, and elevate your brand presentation today!